Set Up the WireGuard Client on macOS
Connect to your POT VPN on macOS with the official WireGuard client.
1. Open your VPN link and download the config
Open the one-time link you received in a browser — you'll see your VPN setup page. Click Download config file and save it.
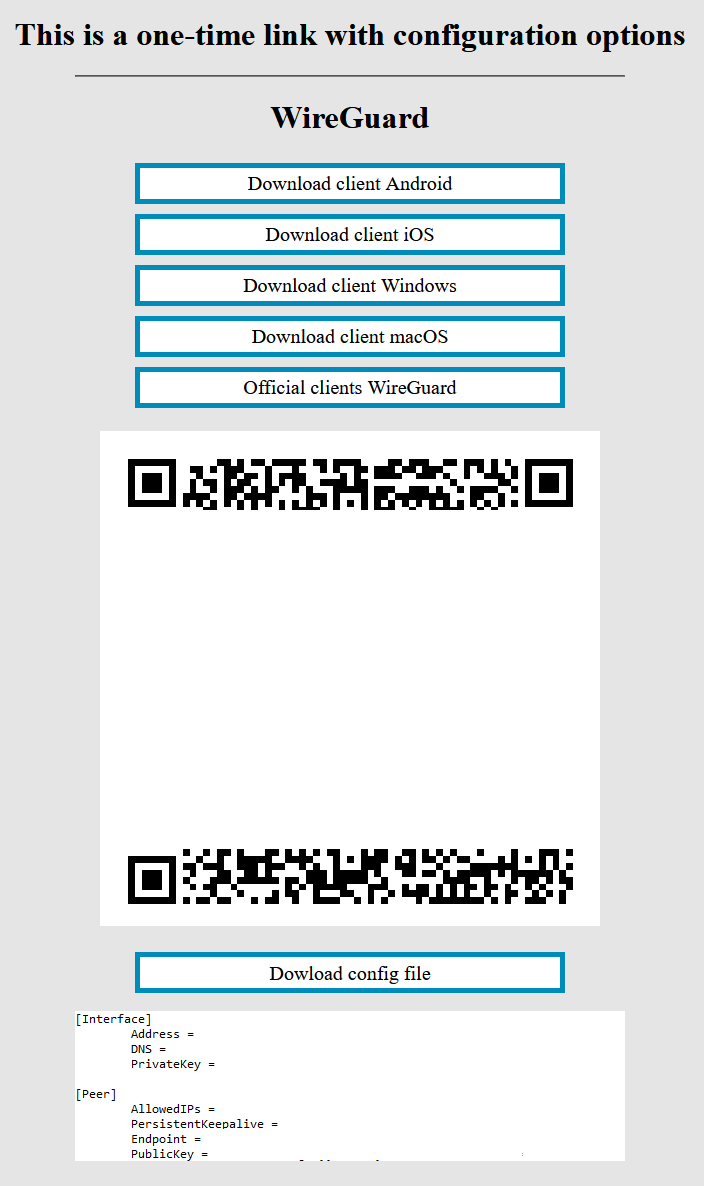
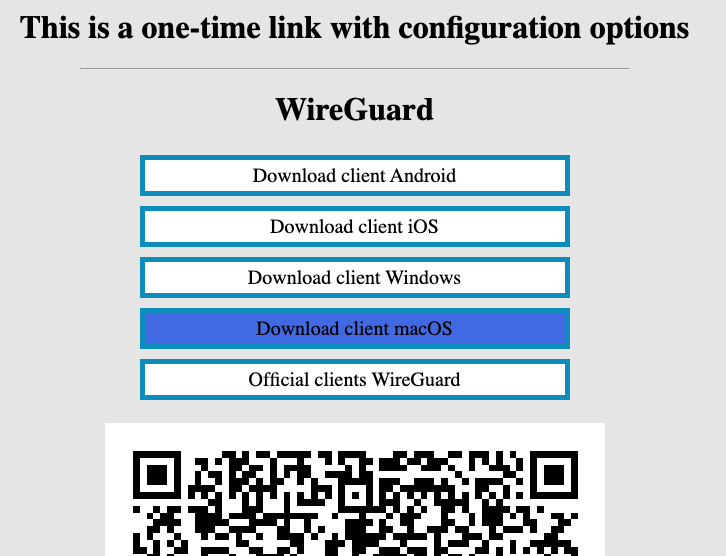
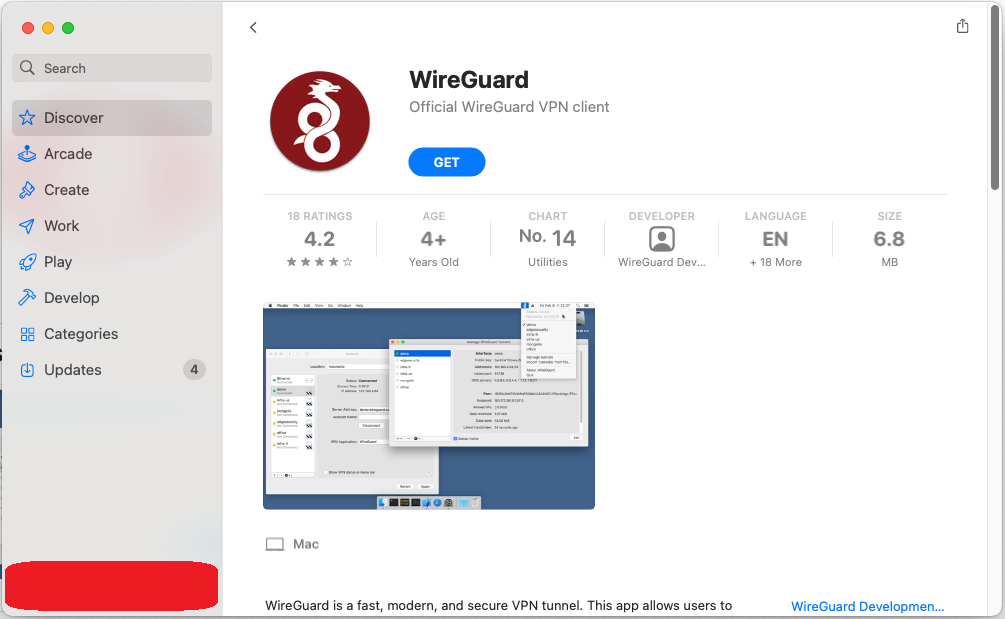
2. Install the WireGuard client
Click Download client (macOS) — the App Store opens. Click Get, then Install.
3. Import your tunnel and connect
- Open WireGuard and click Import tunnel(s) from file.

- Select your config file — the connection is created.
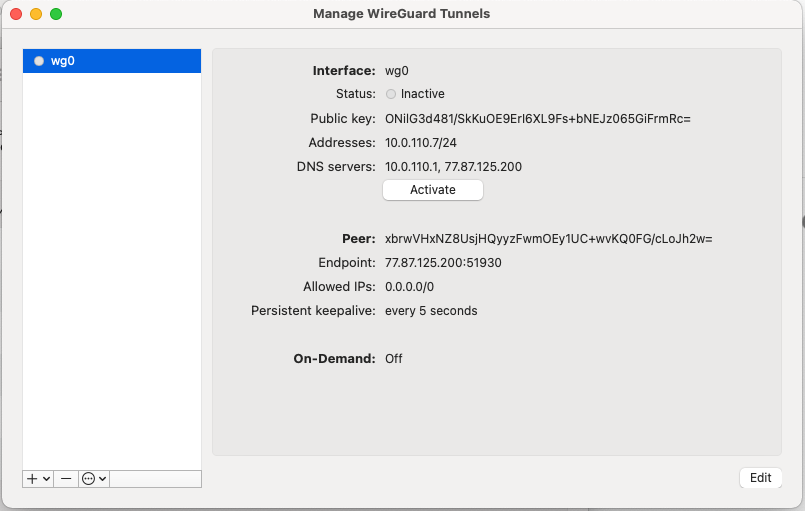
- Click Activate. You'll see the WireGuard icon in the menu bar when connected.

