Set Up Your Email on iPhone or iPad
You can set up your POT email on iPhone or iPad manually, or automatically with a profile from your hosting panel.
Manual setup
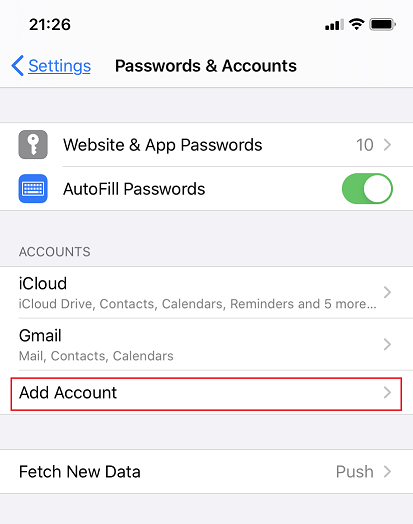
- Go to Settings → Mail (or Passwords & Accounts) → Add Account.
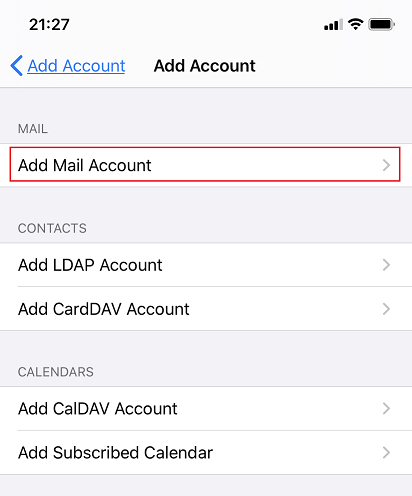
- Choose Other, then Add Mail Account.
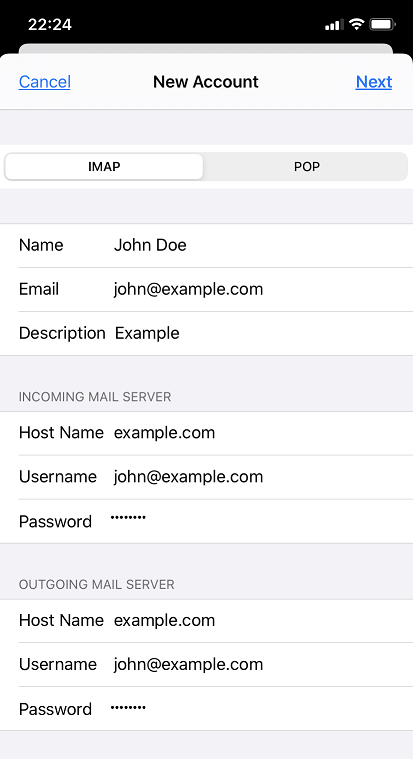
- Enter your name, full email address, password, and an optional description, then tap Next.

- Choose IMAP (recommended) or POP. For both incoming and outgoing servers, set Host Name to your domain (e.g.
example.com), Username to your full email, and your password. Tap Next.
- Tap Save. Your account appears under Accounts.
Certificate warning? If you see an SSL/TLS certificate message, it usually means the mail server's certificate domain differs from your settings. We recommend securing your domain with a free Let's Encrypt certificate, or set the incoming/outgoing server to match the name on the certificate.
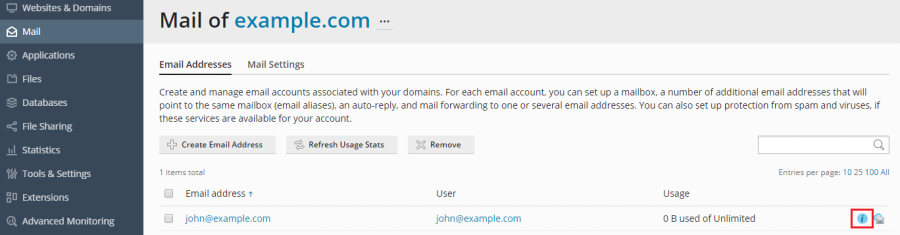
Automatic setup (recommended)
- Log in to your hosting panel, go to Mail, and click the settings icon next to your email address.
- Select iOS Mail on iPhone or iPad, then either scan the QR code with your phone's camera or open the provided link on your device.
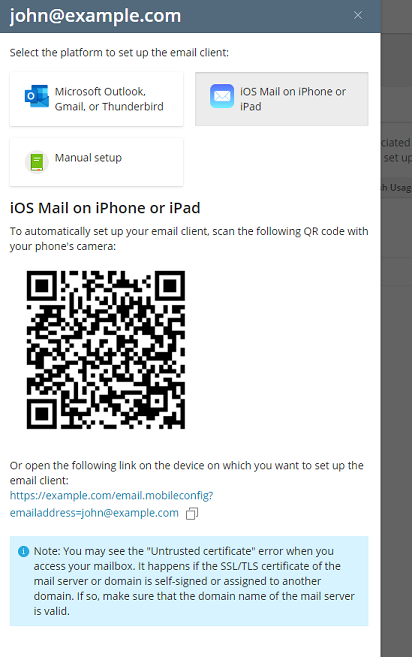
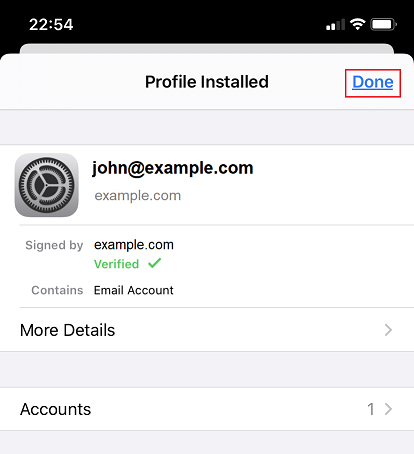
- Tap Allow to download the mail profile, then go to Settings → Profile Downloaded → Install.

- Enter your passcode, your mail password if asked, and tap Done. Your account is ready under Accounts.