This guide will show you how to enable Remote Desktop Protocol (RDP) service on Windows Server 2019/2022. RDP is a proprietary protocol developed by Microsoft for connecting to another computer with a graphical interface over a network connection.
An RDP client software is used on the local computer for this remote connection. The remote server is required to run the RDP server. The default setting of RPD in Windows server 2019/2022 is to disable external remote desktop access. But this can easily be turned on.
- You can enable the RDP service from the Server GUI. Open Server Manager from the Start menu.
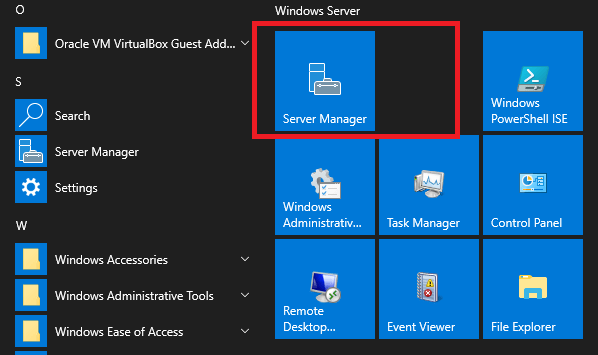
Click on the “Local server” on the left section.

- Click on the “Remote Desktop” disable button.

On the next properties setting window, select “Allow remote connections to this Computer“
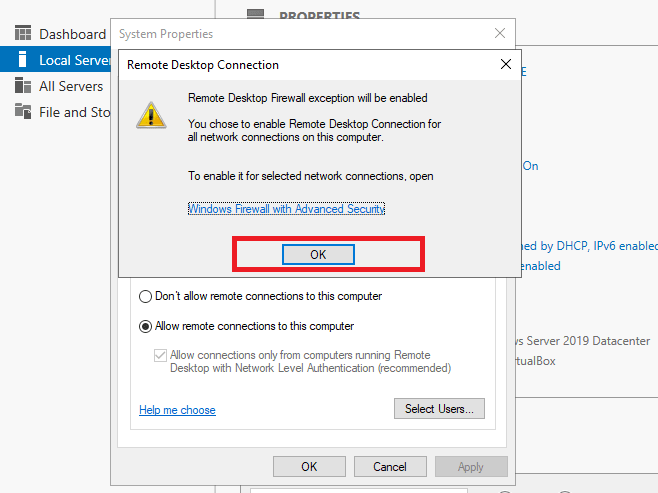
- Agree to Remote Desktop firewall exception warning and add users to allow by clicking on “Select Users“.
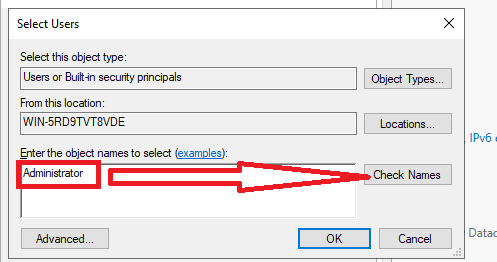
- Enter Username and click Check names. Once you confirm the username, click OK to save.
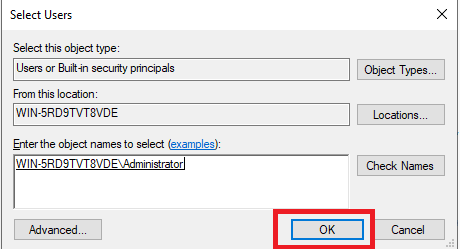
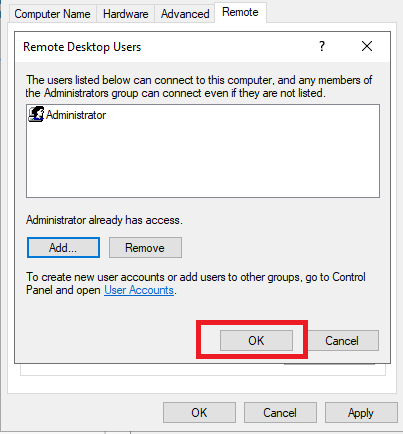
- The selected users should be shown on the next screen.
- You’re now ready to connect to your Windows server on port 3389 with your favorite RDP client.

