Install Forge on Your Minecraft Server
Forge can't be installed by our automated scripts, but setting it up manually is straightforward. This guide walks you through it.
1. Download and run the Forge installer
- Go to the Forge download page and choose your Minecraft version from the left sidebar.
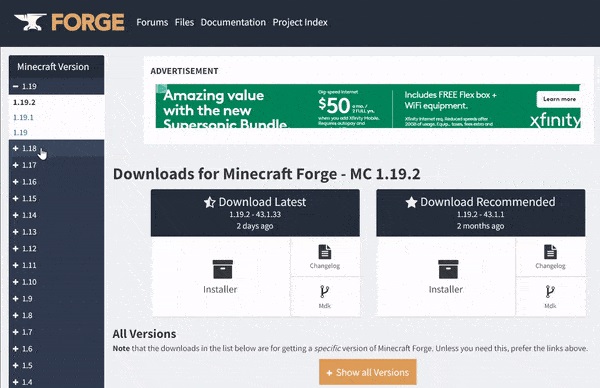
- Download the Installer for the version you want.

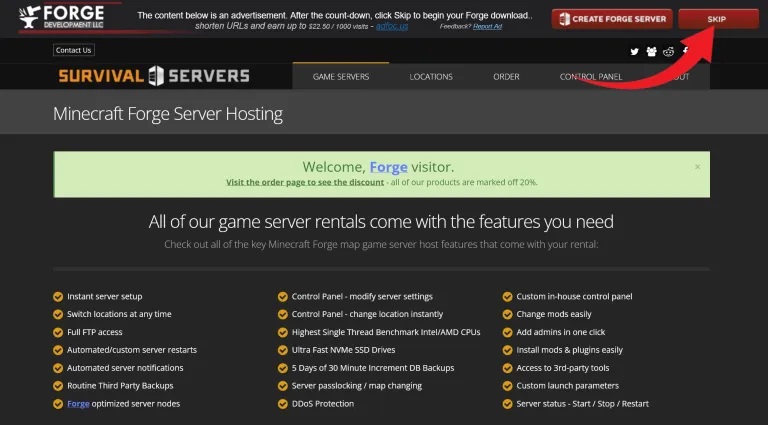
- When the link is ready, click SKIP to start the download.
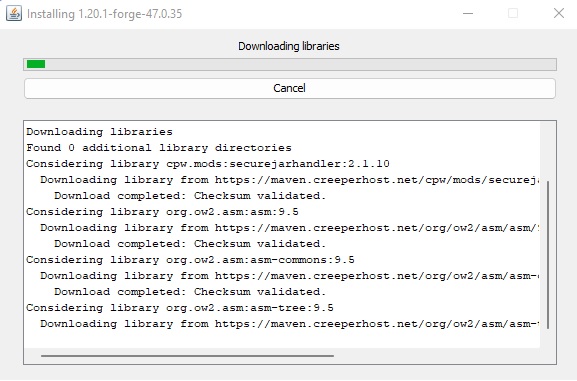
- Run the installer and choose Install server.
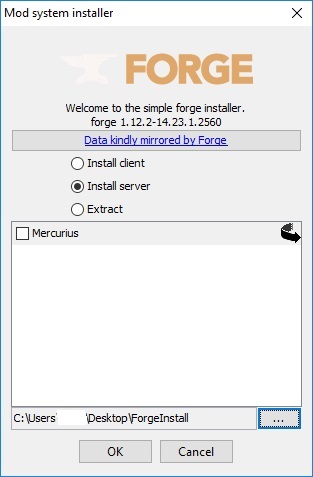
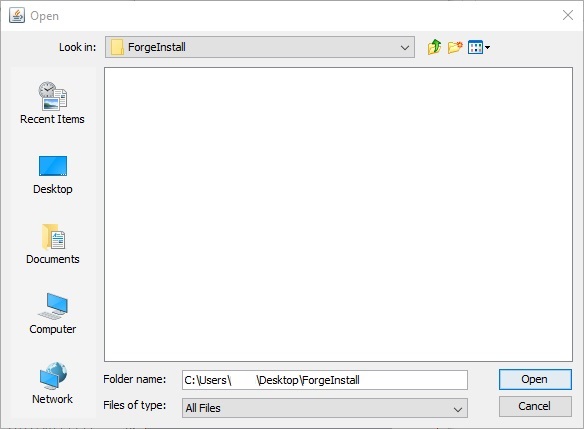
- Pick a folder to install into — a temporary folder on your Desktop works well.
- Click OK and wait for all the Forge files to finish downloading.
2. Upload the Forge files to your server
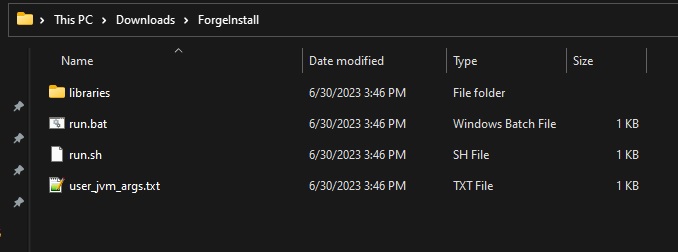
From the folder you installed into, you'll upload these two items to the server:
libraries(folder)user_jvm_args.txt(file)
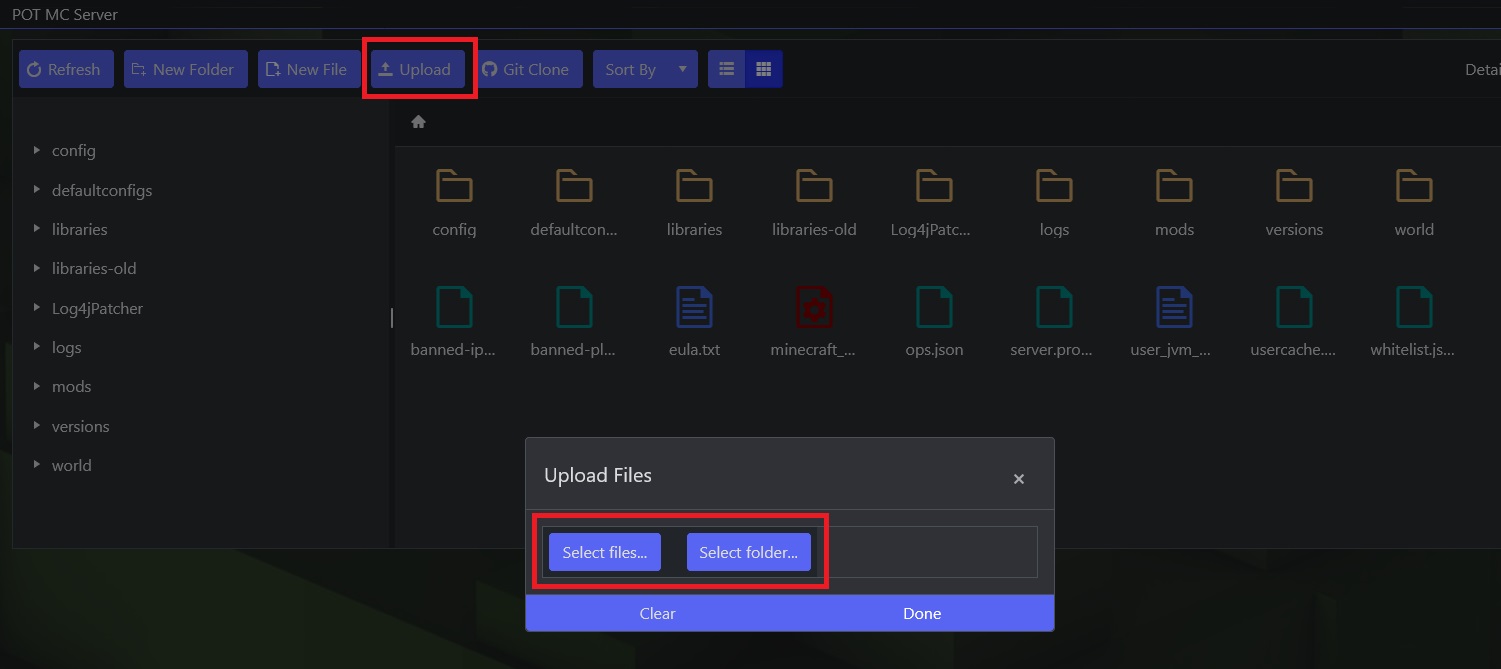
- Log in to the Game Control Panel and open the File Manager.

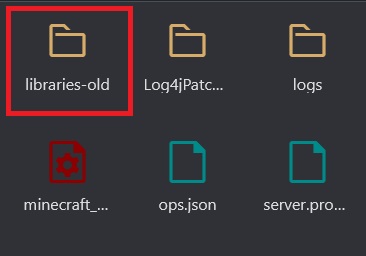
- Rename the existing
librariesfolder tolibraries-old(or delete it).
- Click Upload and upload both the
librariesfolder anduser_jvm_args.txt(one at a time).
3. Select Forge and start
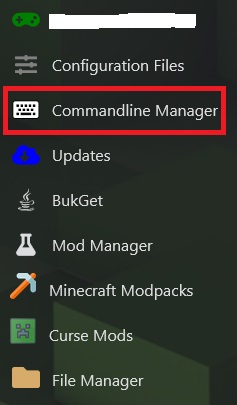
- Open the Commandline Manager.
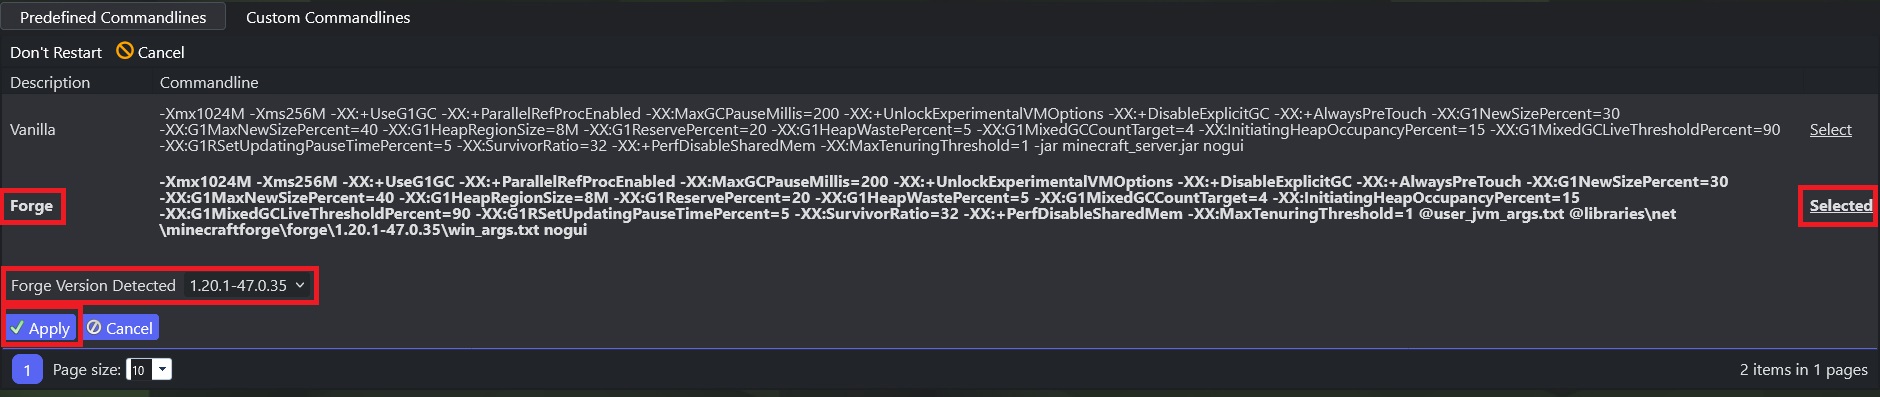
- Select Forge — the panel detects the version you uploaded — then click Apply.
- Start your server. The web console (and the game) will show your server is now running Forge.
